Home Router on SmartOS

A SmartOS zone can serve quite nicely as a NATing router for a home network. It works incredibly well on the HP N54L Microserver in concert with other VMs.
Note: This guide has been heavily influenced by the SmartOS wiki article on NAT using Etherstubs.
In addition to the SmartOS NAT guide, we will be installing several other services on our router, namely dnsmasq for DNS and DHCP service, as well as optionally haproxy for TCP port forwarding.
Identify your interfaces
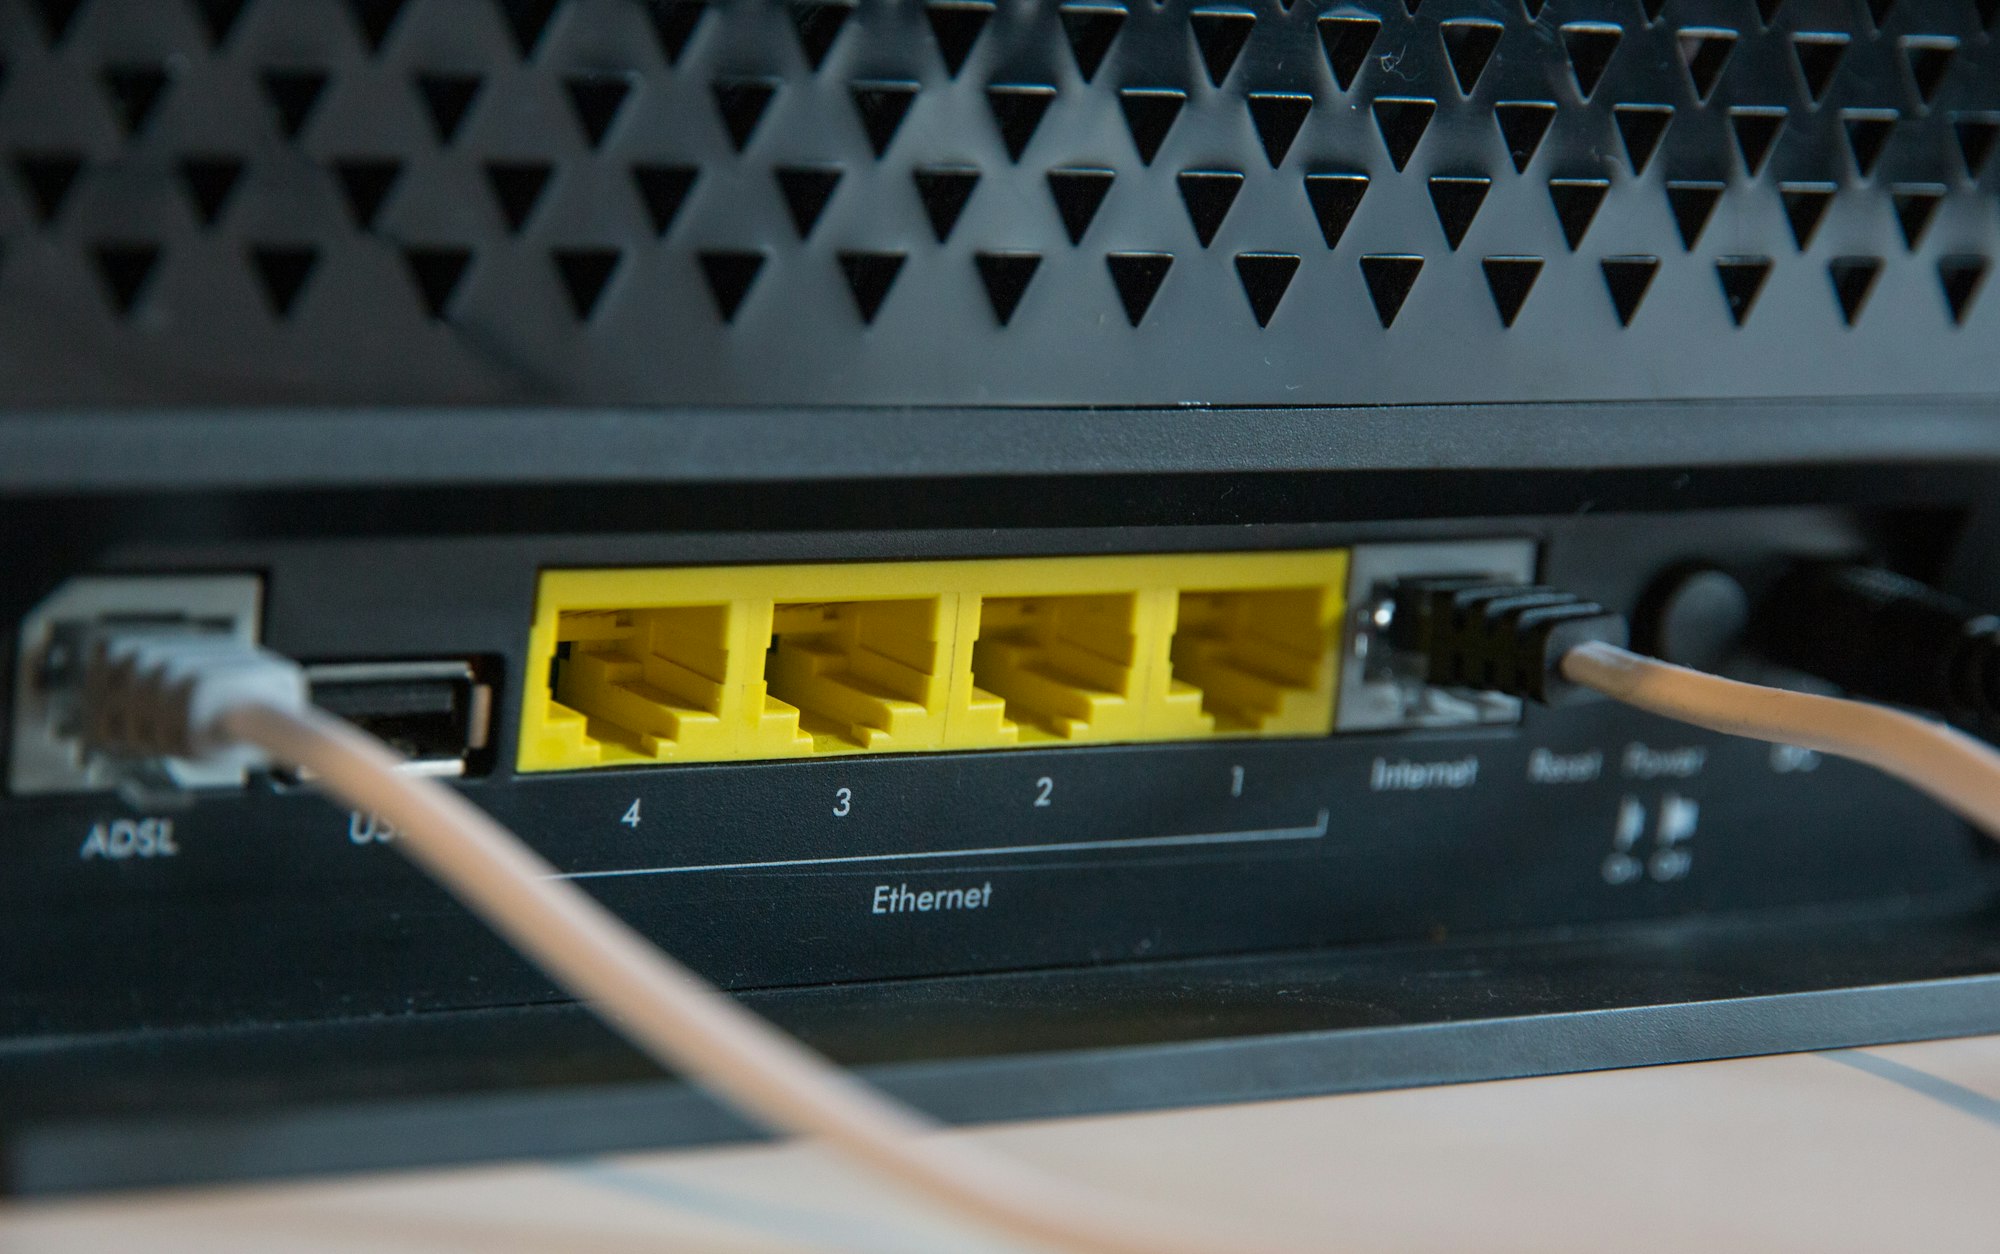
Most home routers have two network interfaces, internal and external. We're going to do the same. Our internal network interface is the one we're going to connect to our local network and the one we will be NATing packets for. Our external network interface should be the one directly connected to the wild Internet (or a cable modem), but shouldn't yet have anything configured on.
There are a few different ways this can be done in SmartOS.
The easy way
The simplest configuration is to have two different physical network interfaces in the global zone: one dedicated for admin and one for external. For simplicity's sake, we will be using the admin network as our internal network.
For this approach, we will need to correctly identify and tag each interface. Lets check them out on the global zone:
[root@gz ~]# dladm show-phys -m
LINK         SLOT     ADDRESS            INUSE CLIENT
e1000g0      primary  00:11:22:33:44:55  yes  e1000g0
bge0         primary  66:77:88:99:aa:bb   no  bge0
In the above example, e1000g0 is the admin interface while bge0 will become our external interface. Check the global zone configuration to confirm that admin is 00:11:22:33:44:55 and add a directive to indicate that external is 66:77:88:99:aa:bb.
/usbkey/config
admin_nic=00:11:22:33:44:55
...
external_nic=66:77:88:99:aa:bb
...
If you don't want to reboot, use nictagadm to update the running system with the new tag.
[root@gz ~]# nictagadm add external 66:77:88:99:aa:bb
In the zone configuration below, you should use the following to describe the network interfaces:
...
  "nics": [
    {
      "nic_tag": "external",
      "interface": "net0",
      "ips": ["dhcp"],
      "primary": true,
      "allow_ip_spoofing": "true"
    },
    {
      "nic_tag": "admin",
      "interface": "net1",
      "ips": ["192.168.0.1/24"],
      "allow_dhcp_spoofing": "true",
      "allow_ip_spoofing": "true"
    }
  ],
...
The minimalist way
If you have only one physical network interface in the global zone (and a VLAN capable switch), you can still use SmartOS as a home router. In this case, we will use the untagged admin interface as the internal network and VLAN ID 2 packets as the external interface.
This approach takes no reconfiguration of the global zone, however, you will need to configure your switch to route external frames appropriately, which is beyond the scope of this post.
In the zone configuration below, you should use the following to describe the network interfaces:
...
  "nics": [
    {
      "nic_tag": "admin",
      "vlan_id": 2,
      "interface": "net0",
      "ips": ["dhcp"],
      "primary": true,
      "allow_ip_spoofing": "true"
    },
    {
      "nic_tag": "admin",
      "interface": "net1",
      "ips": ["192.168.0.1/24"],
      "allow_dhcp_spoofing": "true",
      "allow_ip_spoofing": "true"
    }
  ],
...
The awesome way
While both of the above configurations are completely valid ways to configure the network, they're both lacking in the performance department. Think about it: If you've got two or more network interfaces, why haven't you aggregated them yet?
This configuration requires VLAN and LACP capable switching fabric, which isn't common in the home. The changes to the global zone configuration are as follows:
/usbkey/config:
...
aggr0_aggr=00:11:22:33:44:55,66:77:88:99:aa:bb
aggr0_lacp_mode=active

admin_nic=aggr0
...
While you certainly can manually configure this as well, I recommend rebooting the global zone to apply this.
Since you now effectively have one network interface, follow the minimalist way instructions above.
Configure Zone
Note: In the following VM manifests the default admin network is shared with the site's internal network. This could be a bad idea if you're using any KVM VMs, as, by default, there is no authentication protecting VNC access to the console of the KVM instance. This is a non-issue if you're exclusively using Solaris Zones or LX Branded Zones.
Specifying the same MAC address as your last router increases the likelihood of getting the same IP address from your residential ISP's DHCP service. If you would like the same IP address, I recommend setting the MAC address to match that of your previous router. If not, I recommend removing the line entirely (#This line).
Notice: If you decided to use one of the alternate network configurations discussed above, change out the nics block below with the one relevant for your configuration.
router.json
{
  "alias": "router",
  "hostname": "router",
  "brand": "joyent",
  "image_uuid": "088b97b0-e1a1-11e5-b895-9baa2086eb33",
  "max_physical_memory": 256,
  "quota": 10,
  "nics": [
    {
      "nic_tag": "external",
      "interface": "net0",
      "mac": "b0:b0:b0:b0:b0:b0",  # This line
      "ips": ["dhcp"],
      "primary": true,
      "allow_ip_spoofing": "true"
    },
    {
      "nic_tag": "admin",
      "interface": "net1",
      "ips": ["192.168.0.1/24"],
      "allow_dhcp_spoofing": "true",
      "allow_ip_spoofing": "true"
    }
  ],
  "resolvers": [ "8.8.8.8", "8.8.4.4" ]
}
Create the router VM and login to it.
[root@00-11-22-33-44-55 ~]# vmadm create -f router.json
Successfully created VM 01234567-89ab-cdef-0123-456789abcdef
[root@00-11-22-33-44-55 ~]# zlogin 01234567-89ab-cdef-0123-456789abcdef
Configure Routing
Edit /etc/ipf/ipnat.conf so that it will NAT IPv4 packets routed through the VM. I recommend uncommenting the rdr line if you're also planning on providing services through haproxy.
map net0 192.168.0.0/24 -> 0/32 proxy port ftp ftp/tcp
map net0 192.168.0.0/24 -> 0/32 portmap tcp/udp auto
map net0 192.168.0.0/24 -> 0/32

# Uncomment the following line if you want the router's external IP address accessible from the internal network
# rdr net1 <public ip>/32 -> 192.168.0.1
Turn on IPv4 forwarding & enable IPFilter
[root@router ~]# routeadm -u -e ipv4-forwarding
[root@router ~]# svcadm enable ipfilter
Verify that NAT is working properly
[root@router ~]# ipnat -l
List of active MAP/Redirect filters:
map net0 192.168.0.0/24 -> 0.0.0.0/32 proxy port ftp ftp/tcp
map net0 192.168.0.0/24 -> 0.0.0.0/32 portmap tcp/udp auto
map net0 192.168.0.0/24 -> 0.0.0.0/32

List of active sessions:
Install dnsmasq and haproxy
[root@router ~]# pkgin in dnsmasq haproxy
reading local summary...
processing local summary...
...
calculating dependencies... done.

nothing to upgrade.
2 packages to be installed (3003K to download, 7790K to install):

dnsmasq-2.75 haproxy-1.6.2

proceed ? [Y/n] y
downloading packages...
...
Configure dnsmasq
Edit /opt/local/etc/dnsmasq.conf. Below are the highlights from the config file.
# Never forward plain names (without a dot or domain part)
domain-needed

# Never forward addresses in the non-routed address spaces.
bogus-priv

# We only service our internal network
interface=net1

# 200 ip addresses means lots of friends can come over
dhcp-range=192.168.0.50,192.168.0.250,6h

# Use /etc/ethers as a static allocation map
read-ethers

# Set the NTP time server addresses to 192.168.0.9 and 172.16.0.9
dhcp-option=option:ntp-server,192.168.0.9,172.16.0.9

# This should be the authoritative DHCP server on the network
dhcp-authoritative

# Cache of looked up domain names, don't go too crazy here
cache-size=1200
Create a directory at /var/cache and enable dnsmasq.
[root@router ~]# mkdir /var/cache
[root@router ~]# svcadm enable dnsmasq
Configure haproxy
While this package is only necessary if you're providing what should be publicly available services from your internal network, it's still useful to have on hand. In our example, we're going to use haproxy on our router to forward traffic to another VM on our internal network that's running nginx.
Create /opt/local/etc/haproxy.cfg
global
  log localhost local0
  log localhost local1 notice
  maxconn 4096
  uid 99
  gid 99
  daemon

defaults
  log global
  mode http
  option httplog
  option dontlognull
  option redispatch
  retries 3
  maxconn 1024
  timeout connect 60s
  timeout client 60s
  timeout server 60s

listen http
  bind *:80
  option forwardfor
  balance roundrobin
  server http01 192.168.0.10
Enable haproxy.
[root@router ~]# svcadm enable haproxy
Disable SSH Logins (optional)
Due to the elevated position of this VM in the network, I disable direct ssh access to it, instead preferring to access it through zlogin from the global zone.
[root@router ~]# svcadm disable ssh
Conclusion
In my next blog post, I will be describing how to establish a tunnel to Hurricane Electric's tunnelbroker.net, and provide ipv6 connectivity into the network.