Yubikey on SmartOS

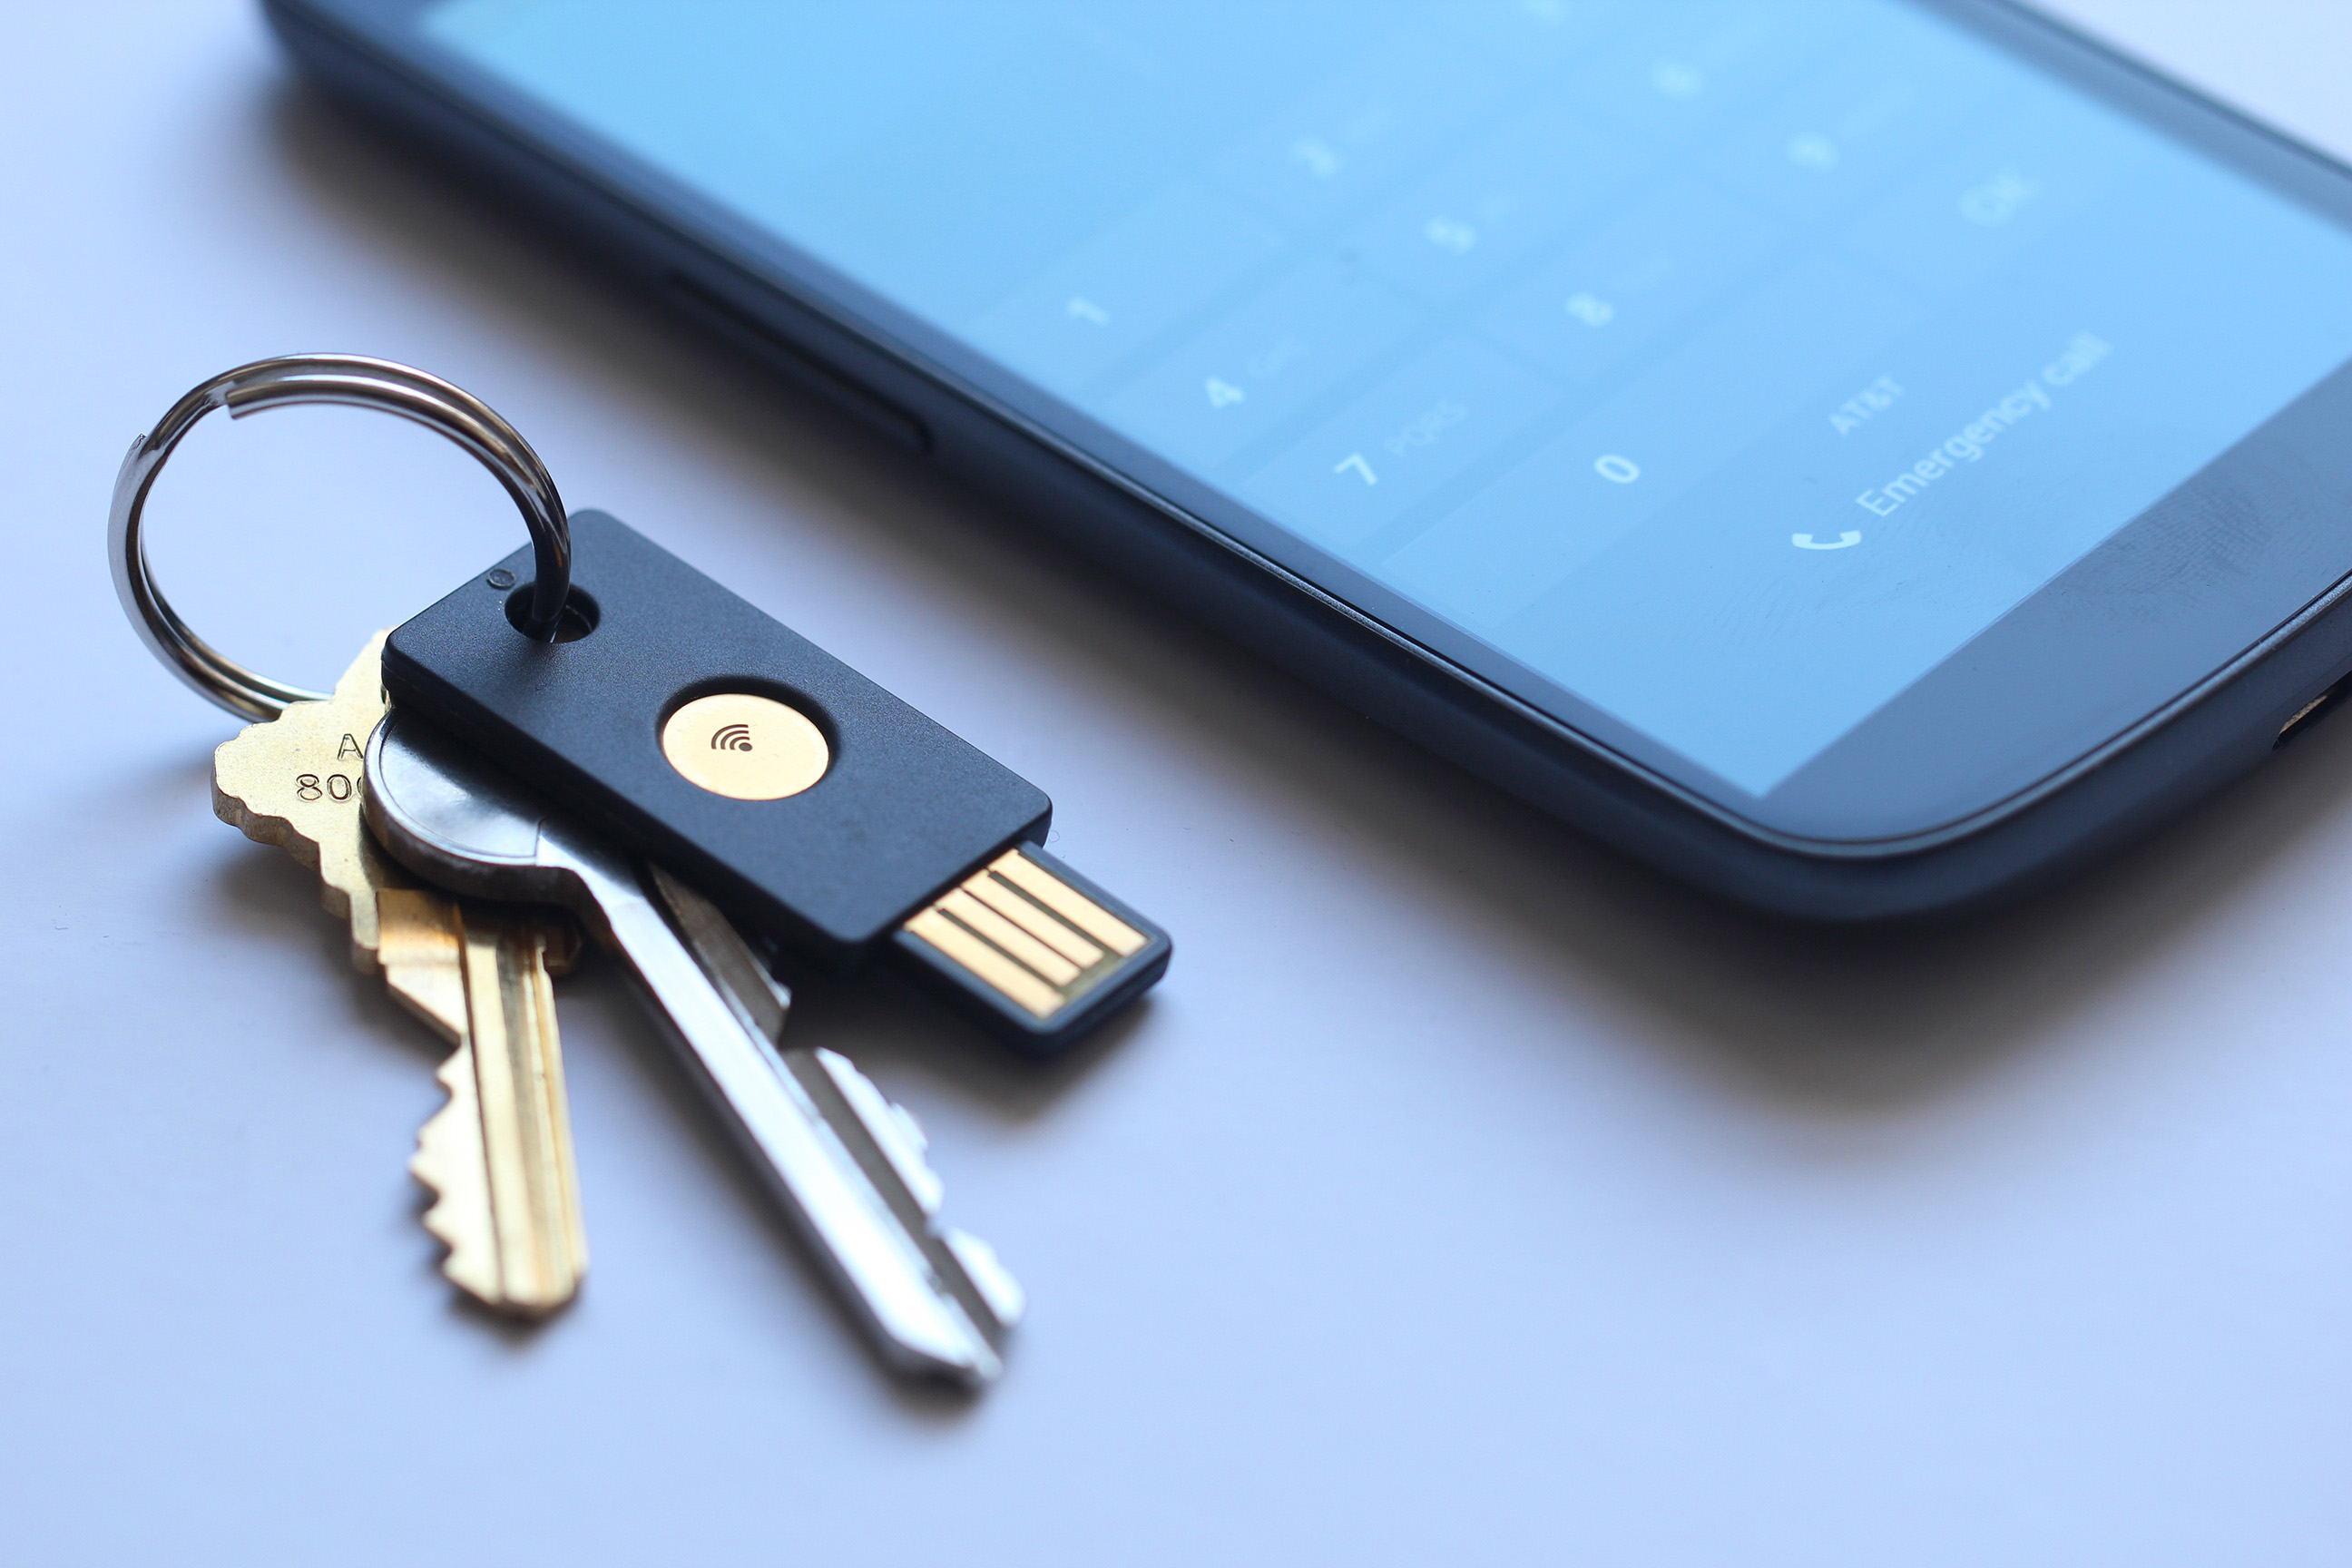
I've been using a Yubikey Neo for the last few months and I LOVE it. The Two-Factor Authentication of U2F for websites should always have been this easy, and it's extremely convenient that this also serves as multiple hardware OATH-TOTP tokens for sites that don't yet support U2F. It's NFC capability means I can swipe it across the back of my smartphone for one-time passcodes without having to install anything on the computer I happen to be sitting in front of, or keep private tokens on my phone.
The last feature of the Neo which is actually the reason that compelled me to finally buy one was that it also works as a PIV-compliant smart-card, right out of the box. Using a hardware token is by far the most secure way to log in via SSH, and the Yubikey Neo gives you the choice of PIV or OpenPGP. That's like peanut butter AND chocolate.
I really can't say enough good things about Yubikey Neo. My only complaint is the maximum key size is limited to 2048 bits, a limitation which has been overcome with the Yubikey 4 when dealing with OpenPGP keys. I have yet to see if that limitation exists on the PIV side of the hardware.
As there are plenty of permutations of authentication strategies (PIV & Putty-CAC is what I use), I won't go into the process of setting up your Yubikey to authenticate on behalf of your SSH client, as there are plenty of other guides out there on that topic. If they all suddenly disappear, I may reverse this decision.
SmartOS Zone Integration
Simply copy your private key into ~/.ssh/authorized_keys for the user(s) you want direct login access with, as you would with any other SSH key.
SmartOS Global Zone Integration
Because of the transient nature of a SmartOS Global Zone, there are a few additional steps to go through to support certificate SSH logins.
Append the following to /usbkey/config:
root_authorized_keys_file=authorized_keys
Next, create a file at /usbkey/config.inc/authorized_keys containing your public key. Rebooting your global zone will cause the contents of this file to be mirrored at /root/.ssh/authorized_keys. You can also copy the file yourself if you don't want to bother with the reboot.
# cp /usbkey/config.inc/authorized_keys ~/.ssh/
Reject Password SSH Logins
The last thing we're going to do is reject password-based logins over SSH. This is a policy decision, but in my case, I cannot justify the risk of having a password compromised and remote access to one of my global zones granted to an unauthorized party. Fortunately, this is pretty easy to do.
Edit the sshd_config file. In a zone, this file is located at /etc/ssh/sshd_config, in the global zone it's located at /usbkey/ssh/sshd_config. Ensure the following directives are set:
PasswordAuthentication no
ChallengeResponseAuthentication no
PermitRootLogin without-password
#UsePAM no
Setting PasswordAuthentication to no will disable the 'password' authentication scheme (as defined in RFC-4252, section 8). Setting ChallengeResponseAuthentication to no will also disable the 'keyboard-interactive' authentication scheme (as defined in RFC-4256). The PermitRootLogin directive controls if root can log in through SSH. Setting it to without-password will allow public key based login for root. Also, you may want to disable PAM (with UsePAM no) however this should not be necessary.
After this is done, restart your ssh daemon with svcadm:
[root@00-00-00-00-00-00 ~]# svcadm restart ssh
Conclusion
While this isn't a perfect solution for authentication, it is a major step in the right direction. An additional guide on setting up an SSH CA may be in the works to ensure that someone can't just copy in unauthorized keys into authorized_keys. Additionally, I've heard there's a way to configure your Yubikey to only perform one PIV authentication when it's hardware button is pushed. This makes the majority of local and remote authentication hijack attacks much more obvious.